


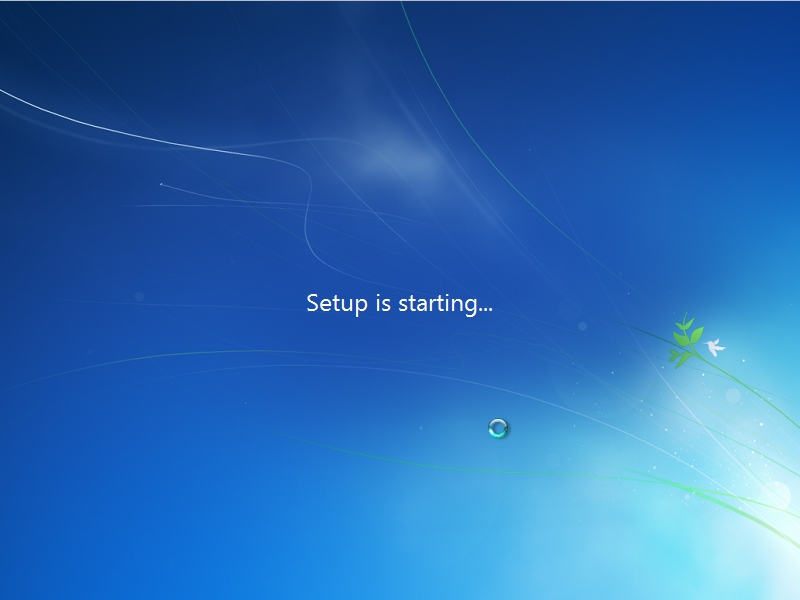
First you will need to turn your computer on and insert the Windows 7 install DVD. The computer should come up with a message saying "Press any key to boot from DVD...". Press a key and the black Windows 7 installer screen should say "Windows is loading files.....". Afterwards it will say Starting Windows with an animated glowing Windows logo too.

Now that Windows 7 setup has loaded it will ask the basic question of, what language do you speak, where you live and what keyboard layout you use. Select your options and click Next.

On the next screen click Install Now. This screen also allows you to repair Windows 7 if something goes wrong. You'll then see the words Starting Setup...

The Windows 7 licence agreement will appear. If you accept the terms of the agreement then tick the "I accept the license terms" check box and click next.

Because we booted from the 7 DVD we can't select the Upgrade option. If you pick it, then you'll be told you cannot use this option unless you run Windows 7 setup from within Windows Vista. We want to select Custom (Advanced) because we're doing a clean install.. Click the Custom (Advanced) option.

The partitioning screen allows you to see what the partitions will look like. If you see the partition you want to install Windows onto, click it and press Next. To make changes to the partitions click the link to "Show Drive Options". The options are very self explanatory, they include things such as creating a new partition, deleting an existing one, making an existing one bigger, formating a partition as NTFS or load a driver if for some strange reason your hard drive wasn't detected. When done, click next. Note: If you make changes to the partitions, Windows will automatically attempt to add a 200MB system partition which will be needed if you ever use BitLocker (even though BitLocker is only available in Windows 7 Ultimate)


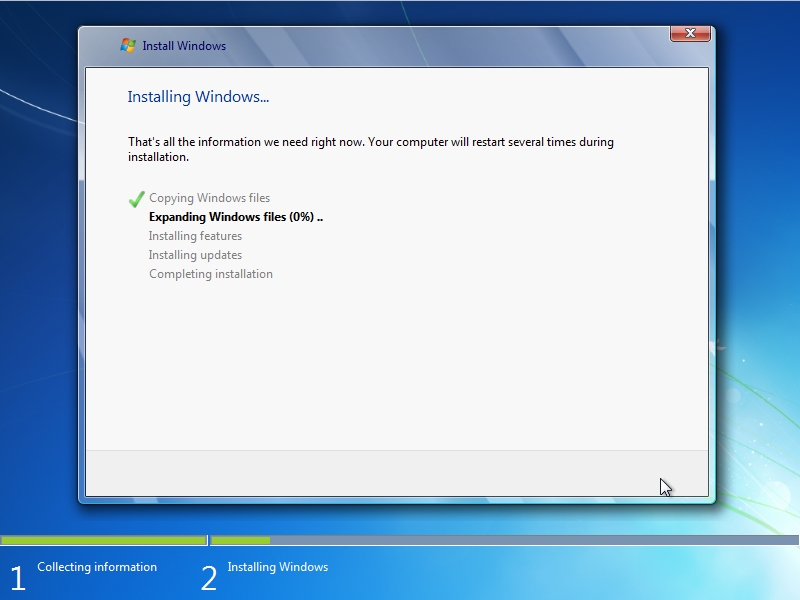
You can now leave the computer for between 20-25 minutes while Windows 7 installs onto you hard disk. The Setup is now completely automatic and the computer may restart a couple of times when necessary. If it ever asks you to boot from a CD or DVD, then don't press any keys and just let it do it's thing automatically. It will alert you just before you need to answer more questions by saying it's preparing your computer for first use.


Stage 2 - Basic Settings
Windows 7 will now restart into the first time setup Wizard. The first screen will ask you what your Name and Computer Name will be. Type your username into the first box and when you press tab it will auto generate a computer name (normally username you typed above-PC) Then click Next.

The next screen will ask you for a password. Unlike previous versions of Windows, if you choose to have a password, it will force you to put a password hint in, even if you don't use it. I very much recommend you set a password to your computer for security reasons. Enter your password and click next.

The next screen will ask you to enter your 25 character product key. This key can be found in your documentation that came with your Windows 7 DVD or stuck on the side of the computer if you bought an OEM version from a computer company. If you wish for Windows 7 to automatically activate when you connect to the internet (which is a good idea) select the "Automatically activate Windows when I'm online" check box and click Next when done.

On the next screen click "Use Recommended Settings" without even hesitating. The other options are not even worth thinking about if you want a safe and efficient computer.

On the next screen, set the time, date and time zone that applys to you and click next.

On the next screen, choose where the computer is currently at the moment. e.g If you're installing Windows 7 and you're connected to your home router, then pick Home network. If you're installing Windows 7 at your workplace and are connected to the work internet, click Work network. If for some reason you're installing Windows 7 in a public location, then pick Public network. Note: It is common that Windows 7 bring up options to start or join a Homegroup if you pick the Home network option. It's best to configure this from within Windows, so click Skip if the step is offered.

Windows 7 will finalise all the settings you've picked and then automatically log in, prepare your desktop and proceed to the desktop.


YOU HAVE NOW FINISHED INSTALLING WINDOWS 7. You will now see the Windows 7 Desktop. Unlike Windows Vista, you will not see the Welcome Center, if you want to see it, then pick Start (the big Windows Logo on the bottom left) and then Getting Started. You can now choose options from the centre and setup your computer. I now recommend that you install Microsoft Security Essentials, install the drivers you need for your devices and update Windows 7.

article source:http://www.andrewtechhelp.com/how-tos/93-windows-7-installation-guide